The result
Image showing both overview and detail.
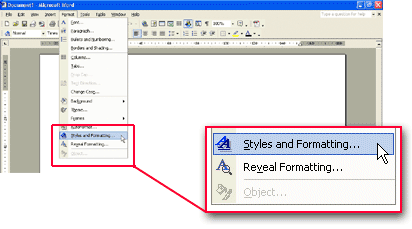
This is Hans' procedure for creating viewer friendly screen dumps, showing both overview and detail.
The page was originally created year 2004 and contains information that was relevant at that time.
Image showing both overview and detail.

On the computer you want to take screen dumps from, set the number of colors to 256.
Generate the desired screen dump using Alt + Print Scrn or use a screen dump program like FullShot.
If no further processing is required, you can paste the image into the document but usually the image can be improved.
First, set the border color in Photoshop.
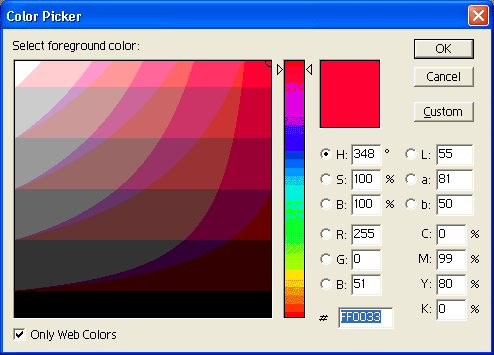
3.1. Open Photoshop, click on foreground color.

3.2. Select for example: FF0033.
3.3. Copy the screen dump.
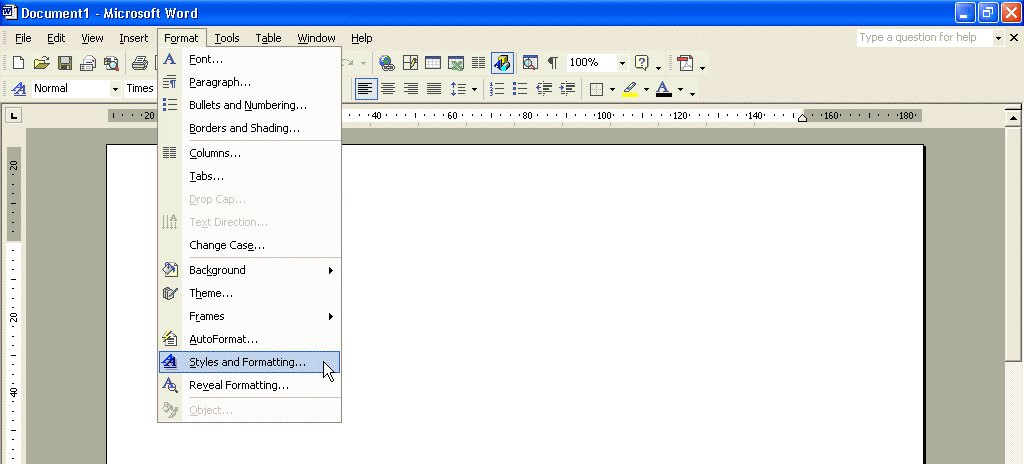
3.4. In Photoshop, select File > New.
3.5. Select Edit > Paste.
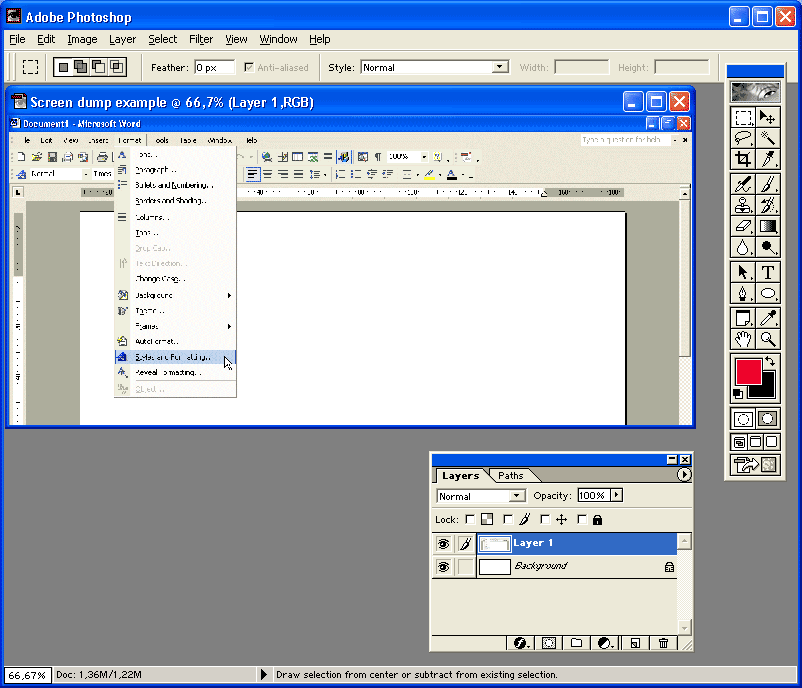
3.6. Using the rectangular marker, highlight the area of interest and select Edit > Copy.
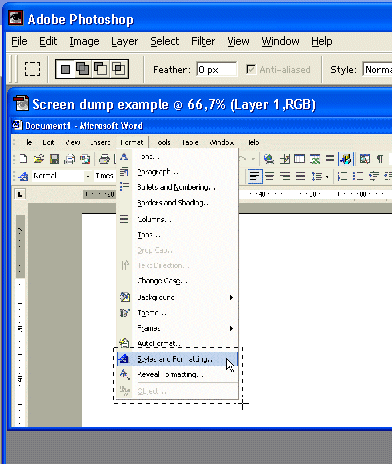
3.7. Decrease the size of the total image by Select > All and Edit > Free transform and SHIFT-drag the image to 40% of its size or desired. Apply the transformation.
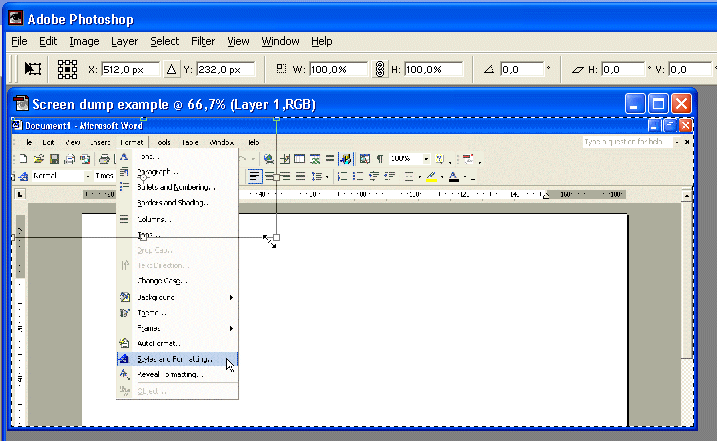
3.8. Paste the previous copied area of interest by selecting Edit > Paste.
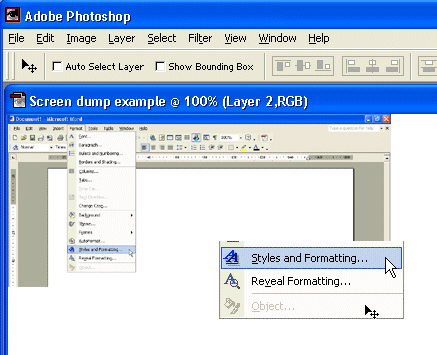
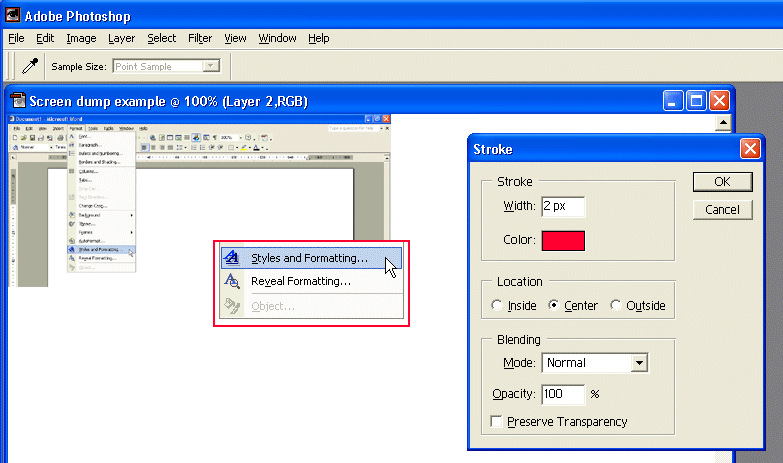
3.9. Add a 2 pt red border around the object by selecting Edit > Stroke.
3.10. Create a shadow with the following settings around the object by selecting Layer > Layer Style > Drop Shadow.
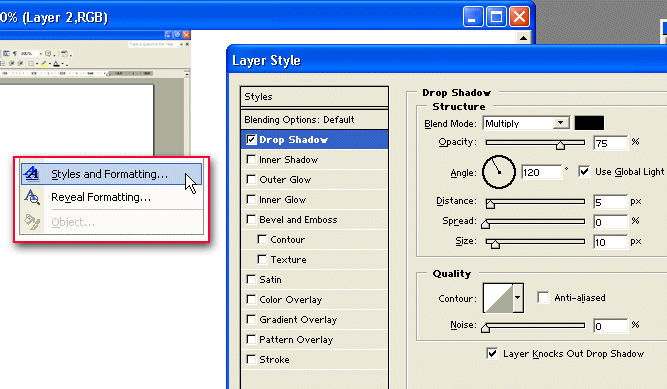
3.11. Create a 2 pt line with the line tool.
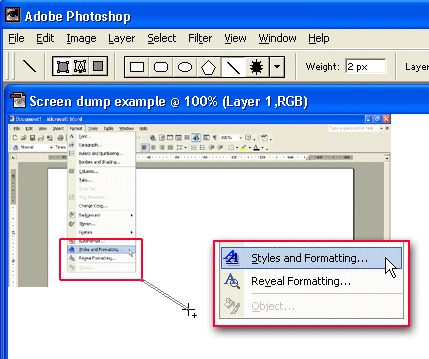

3.12. Finally, crop the image. Ready.